Showing posts with label arts and crafts. Show all posts
Friday, December 13, 2013
Our Christmas Tree
A blurry picture of our Christmas tree in all its glory! We stopped at the church tree lot where we've gotten our tree the last few years on Sunday. I was walking through and stumbled upon the most perfect tree - about six feet tall with fluffy, delightfully proportioned branches. I told one of the guys there I wanted it, and he was all, "Excellent choice! This little beauty was brought in from Washington state - people from all over the Boston area come here for these!" And then he told me how much this perfect Washington state tree was, and I decided to keep looking...
Luckily I found this pretty guy, grown in Massachusetts, and while not quite as perfect as the first tree, it's a still a great one.
While decorating, I made a batch of these little guys using clementines. Suuuuper easy, and they look so cute on the tree with the lights shining through them. If you're looking for a quick, painless craft with stuff you probably have on hand already, I highly recommend these!
Happy Friday the 13th to all! A very, very lucky day, in my opinion!
Tuesday, December 10, 2013
12 Days of Christmas
I know everyone is saying how quick the Christmas season feels this year since Thanksgiving fell so late, but it seriously feels so quick. In an effort to slow down - or at least be a bit more intentional about it - I put together 12 envelopes with little activities and treats for Peter this year. (In case the numbers are confusing, I did them based on the date instead of 1-12!)
I made a long list of little holiday ideas, which were mostly things we'd do anyway like trim the tree while eating fun snacks, watching Elf, and making a reservation for a special holiday dinner. All of those are obviously things I benefit from, too, but I also threw in some special surprises for Peter, like dinner of his choice one night with a few fancier-than-normal options, dark chocolate almonds he likes, and some special holiday beer. He doesn't know what's in each envelope, and it's been really fun to open a new one each night when we get home.
My last night of class is tonight, and after I finish my final paper, I'm going to come up with a mini self-care version of this for myself. It's going to involve bubble baths, reading magazines and grown-up books, doing yoga, and lighting the "fancy" candles I usually save for when we have people come over (Do any of you all do that, too? I admit it's kind of crazy...). I won't write myself little notes, but I WILL add it to my google calendar, which greatly increases my chances of completion. I'm dedicated to that little grid :)
P.S. Thanks for all your excitement about the baby news! I'll post later this week with a few more updates and answers to everyone's not-so-frequently asked questions, ha!
Tuesday, February 12, 2013
Embroidered Heart
Thanks to lots of time at home this past weekend, I went looking for a little craft to keep my busy. I found this darling embroidery pattern, and decided to give it a go. The fabric is an old Shabby Chic shower curtain from Target (no fabric is safe when there's a driving ban on).
I went the ultimate lazy route by holding the fabric up to the embroidery pattern image on my computer screen and lightly tracing it right from there. I also skipped some of the swirls and squiggles - I only know how to do chain stitches, so I did the whole thing using that, plus a few polka dot clusters.
Even with all these short-cuts, it's still pretty cute -- a perfect pre-Valentine's Day craft!
Friday, January 11, 2013
West Elm-Inspired Pillow Covers
I walk by West Elm on my way to and from work - a very dangerous route. I am loving all the abstract silk pillows they started displaying in the windows these last few weeks - so fresh and pretty!
Last weekend I went to Freddy Farkel's in search of some new fabric for Euro shams (more on that later!), and I found a fantastic pink silk fabric in their remnants section. I bought a yard for only $4! These are just simple envelope covers - super easy to whip up. I may add a button in the back since the silk is a little slippery.
I'm so happy with the mini-refresh! This time of year, when all the holiday sparkle and cheer are being put away, I love to have a few new things in the mix at home.
P.S. Yes, that is the Christmas tree standing in the corner. I just took it down last night. The shame! But I miss the lights already.
Thursday, December 6, 2012
Quick Craft: Holiday Pillows from Napkins
I love all the special holiday pillows from Pottery Barn and West Elm so much, but I stopped myself from buying them. Making pillows is so easy - all I needed was some fabric.
At Marshalls, I took a peak at the seasonal tea towels and cloth napkins, and found these pretty ones from April Cornell. I got four for only $5.99! I made a simple envelope pillow cover (using some old Ikea fabric for the back), and put it over 16 inch pillow fillings I already had.
There are still two napkins left. Hopefully I'll get my act together to make a few little stockings or ornaments, too!
P.S. Even easier napkins turned pillow :)
Monday, September 10, 2012
Like clockwork
Each summer, I lose myself to reading, cocktails, beach trips, and grilled seafood. And every September, like clockwork, I'm drawn again to making soup, roasting chicken, hosting friends, and sewing. I always wonder if that crafty tug will pull again when I'm in the thick of summer fun. It always does.
Our bedroom is not really finished (evidenced by this long ago post - I have done exactly nothing that I intended to do then :) I spent a lot of time looking for new Euro shams, until it recently dawned on me that I can sew those with no trouble at all. I love these two fabrics, but I wonder if the floral is a bit too orange? I may just be having an autumnal moment with it. My duvet is a very, very pale pink, I have white curtains, and this braided rug in the bedroom. It could use a little floral + geometric print, right?
Anybody else finding themselves bitten by the crafty bug these days?
Thursday, March 15, 2012
Striped table runner
I had this project on my list for Crafty February, but as you can see, we are now in the Ides of March (beware!). A little late, what can you do?
This is half a yard of a Waverly fabric (it has some kind of cute-ish name like, "So Stripey!" that's escaping me right now).
I folded the fabric in half the long way and stitched that together inside out, being extra sure my stripes were lined up correctly. I'm not usually like that, but stripes, man. They are tricky! Then I closed off the ends right side out, because pickiness can only last so long.
I wanted to make it double sided because as my mom said, "Runners get gross!" Ha. They do, though. So, nice to be able to flip it over after
P.S. Don't mind the gaping hole in my $3.99 TJ's bouquet. A Gerber daisy that formerly inhabited that hole bit the dust shortly before these photos were taken!
Wednesday, March 7, 2012
Polka Dot Easter Tree
Sometime in December, I found a shoe box filled with all my old, decorated eggs for my Easter tree. Now that it's the correct holiday season for them, of course I can't find them anywhere!
No matter. I saw this cute idea for glitter eggs and decided to try some myself. Cute, no? And much easier than dying. I am loving the little polka dot theme going this year, with my pom pom garland in the mix!
Thursday, February 16, 2012
Crafty February: Homemade Ricotta
I mentioned earlier this week that my first attempt at homemade ricotta was a total bust. I followed Smitten Kitchen's recipe, and it just didn't curdle properly. It was sort of lightly turned milk (gross). I used Meyer lemon juice, and maybe it wasn't acidic enough?
After I bit of research, I came across this food lab article by Serious Eats. I tried again with vinegar and only whole milk (not a combination of milk and cream). After I added the vinegar, I kept the pan on the stove, with the heat off, for five minutes. As you can see, it worked! When I placed the mixture over the cheese cloth, the whey drained off really quickly. I only let it strain for five minutes (instead of over two hours the first time!). It came off of the cheese cloth like a nice, fresh blop of cheese. Success!
I was so proud. It was almost better because of the first failure, you know? This week we ate it in a pasta dish with cauliflower, and also mixed it with pesto for an artichoke pizza. So good!
You will need:
4 cups whole milk (not ultra pasteurized - it's science!)
1 teaspoon salt
3 tablespoons vinegar (white or apple cider)
Using a candy thermometer, heat milk and salt in a pan to 180-200 degrees F, stirring occasionally. With the heat still on, add in 3 tablespoons of vinegar. Turn the heat off, and stir gently once or twice. Let the mixture sit undisturbed for five minutes. It should be very curdled and look like the second picture, above.
While letting the vinegar and milk mixture sit, place a fine mesh colander over a bowl. Line with cheese cloth or a few layers of paper towels. Pour the mixture over the cheese cloth. Let sit for one to five minutes, depending on how "loose" you'd like your cheese to be. Place ricotta into an air tight container and refrigerate. It can be stored for up to four days.
I dumped the whey out (it looked like...lemonade, to be polite), but some people find good ways to use it!
Labels:
arts and crafts,
fears,
food-ish extras,
hobbies,
market,
new directions
Monday, February 13, 2012
Crafty February: Felt Ball Garland
Last week was a crafty February fail. First, homemade ricotta came out like a bowl of cooked milk (ew). Then my fabric covered box project turned into a lumpy mess (boo). So! I am showing you this felt ball garland.
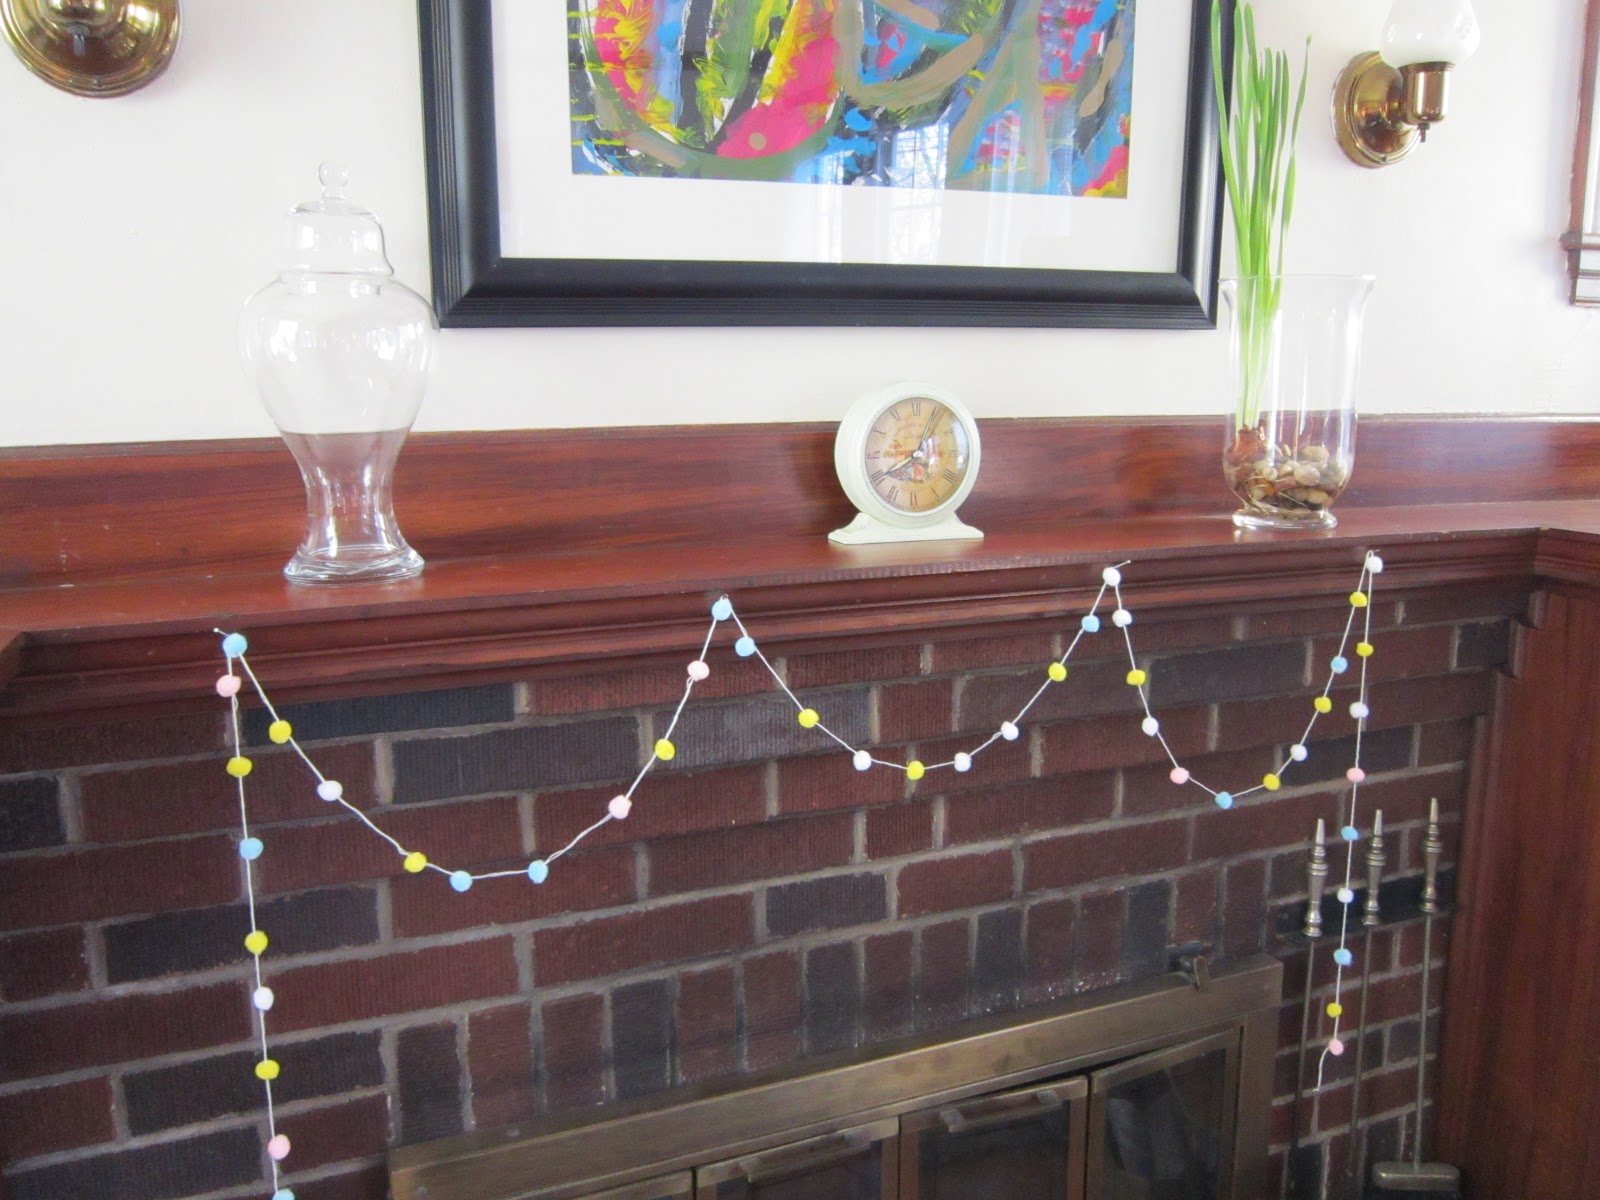
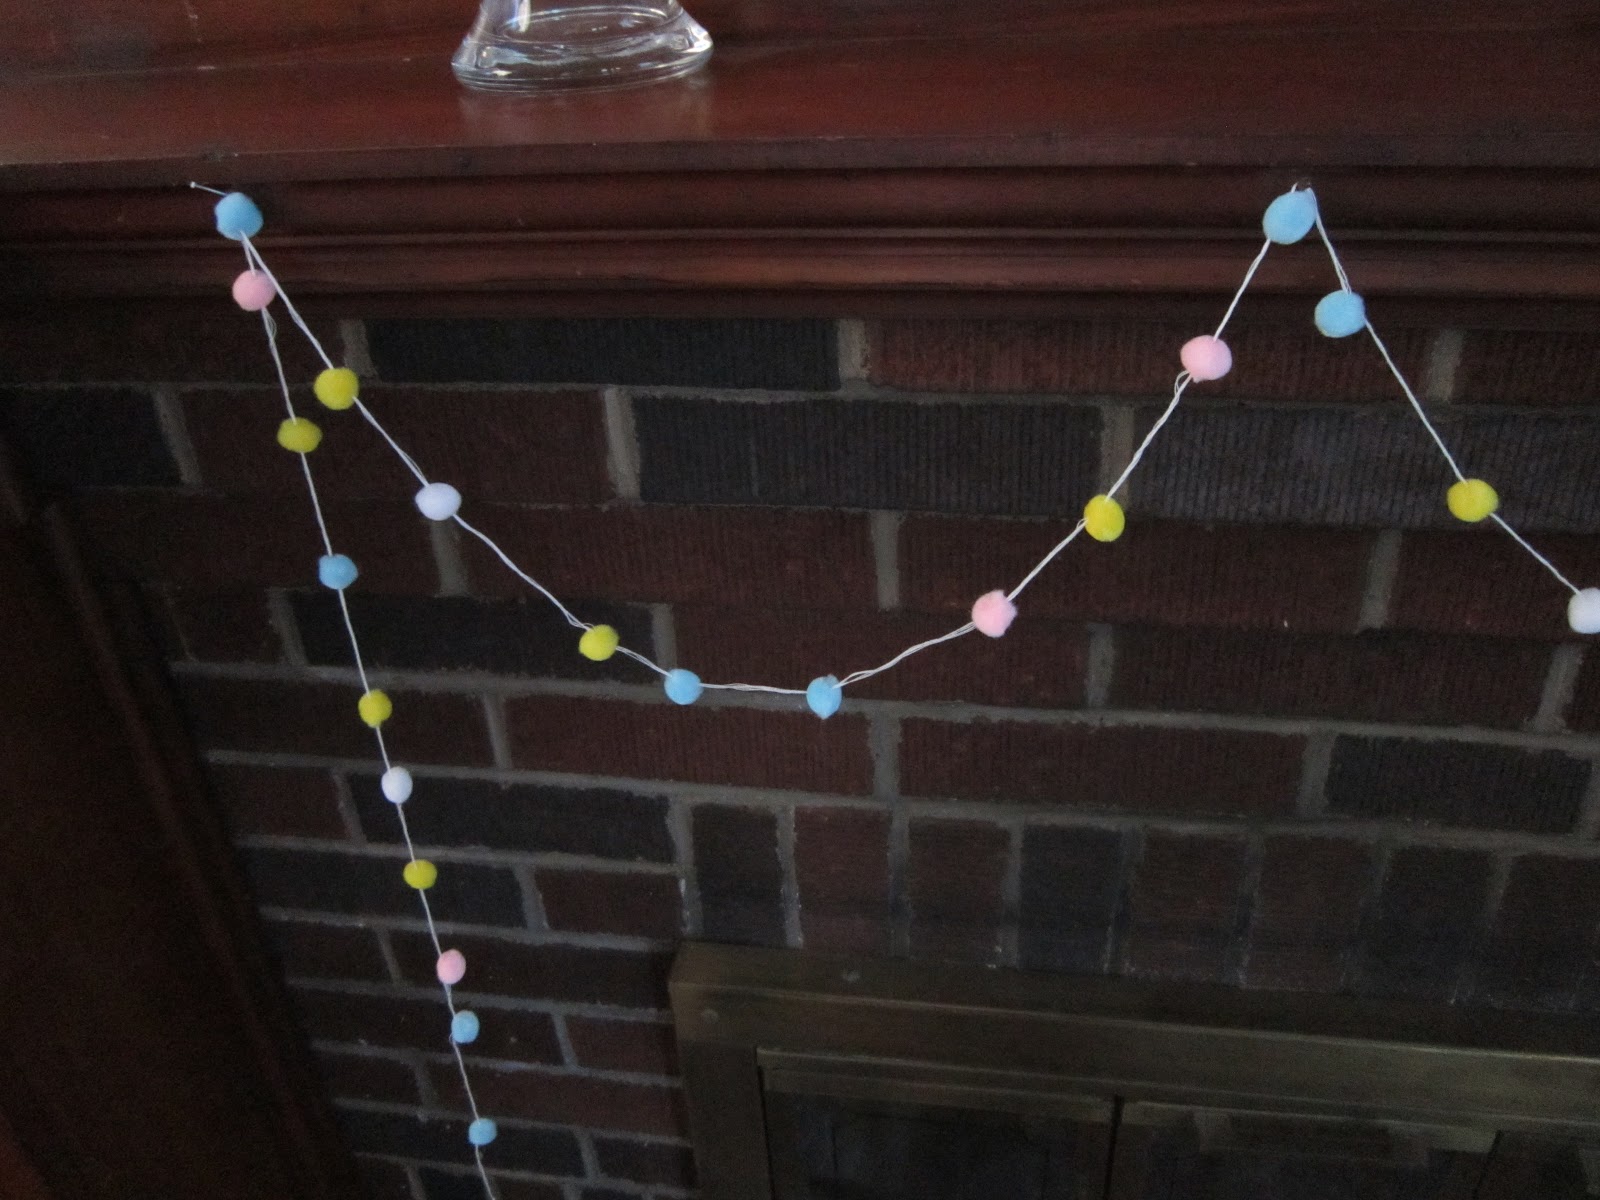
I whipped this up in under twenty minutes. I've had a bag of little felt balls for a long time. I picked out the pastel colors and stung them together using embroidery floss and a big embroidery needle. It will probably go on my Easter tree in a few weeks, but for not, it's strung up on the mantle.
Have you ever made ricotta at home? I'm tempted to try again if anyone has a recipe they've used with good results!
Thursday, February 2, 2012
Valentine's Day Crossword Puzzle
Last year, I made Peter a set of itty bitty love notes for Valentine's Day. These were so fun to put together (and they went over really well!). But I didn't want to do the same thing this year. After scouring the internet for another sweet and inexpensive idea, I found this puzzle maker program on Discover Education. Jackpot!
There are a bunch of different puzzles to choose from, including a few I'd never heard of, like crypographs (?!). I went old school with a crossword puzzle (they call it a criss cross puzzle). In the blank field, you write the answer, then add a space and write the clue on one line. I also put this information in a Word doc so that I have a key, just in case I forget my own crafty answers between now and then. Though I will never forget the answer to number 3 across! (My self-esteem is thriving!).
We'll see how easy or hard it is. I tried to mix in obvious things with some inside jokes that I thought he'd really have to think about to guess right. I hope it will be fun!
Do you all have plans for Valentine's Day yet? I know it's sort of a silly holiday, but I (obviously) love it. We're doing a fun dinner at home with lobsters!
Wednesday, February 1, 2012
Crafty February
After I gave up my arts and crafts column in the Examiner, I basically stopped doing little projects (outside of the odd sewing job). I've gotten in the habit of coming home, cleaning a little, doing laundry, reading, making dinner. You know, normal stuff. But I'm happier when there are extra little projects mixed in with all that jazz.
For the next month, I'm going to try to share one new project each week. I'm hoping this will help get me back in the saddle. Making things is so fun!
I have three of the projects already figured out, but still need to settle on the last one. Have you made anything awesome lately?! Please share - I'd love to hear!
Monday, December 5, 2011
Christmas tree skirt
I fell in love with a striped Christmas tree skirt from this darling shop, and thought I might be able to do something similar with the stacks of fabric I've collected over the years.
I presented my idea to make a circle tree skirt to Peter (resident math-doer) and he suggested I just make a square one. I reminded him that he was not really living up to his high school mathelete title, so he stepped up and did some tricky math for me to make my template.
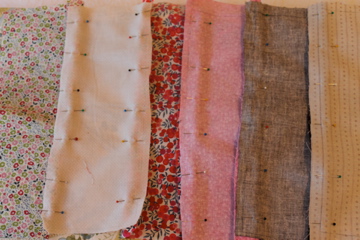
To make a skirt that is 50 inches across with a nine inch hole in the center (for the stand), have the bottom of your template be 9 3/4 inches, the top be 1 3/4 inches, and make it 20 1/2 inches long. You'll need 16 fabric pieces.
I usually say that a project is so easy at this point, but I'll be honest. Sewing in a circle is surprisingly challenging! I sewed all the strips together first, then hemmed the bottom and top, and then sewed off the edges for the opening. You have to leave an opening between two of the strips and hem them (instead of sewing it into a complete circle) so that you can get it around the tree. Make sense, jelly beans?
Hope you all had a lovely weekend!
Labels:
arts and crafts,
hobbies,
holidays,
learning to sew,
winter
Thursday, November 17, 2011
Thanksgiving decor
I am hosting a bridal shower on Saturday for my sweet sister-in-law! It will be the first big party in our new house. I'm very excited, but the thought of having 20+ ladies in my living room has sent me into cleaning/crafting/rearranging overdrive (stay tuned for the big chair reveal coming up tomorrow!).
Anyways! I've been pinning cute ideas for her shower for weeks, and realized many of them would work equally well as Thanksgiving decor, so I thought I'd share a few of my favorites with you. You can find the full board here.
Anyone hosting Thanksgiving next week? Or taking on special crafts or decorating projects?!
Monday, November 14, 2011
Blanket for a baby boy
We got to celebrate with one my most favorite couples at a baby shower over the weekend! Pregnancy is still such a funny, mysterious thing to me. I can't wrap my mind around the fact that soon these dear friends are going to have a baby. That lives in their house, for real!
After my trial run with a baby blanket, I decided to do another one for Baby Luther. I ventured into the world of blue and orange for this one, since it's going to a baby boy! I also embroidered a little "L" in the corner for their last name. BBL is as Southern as they come, and I didn't think she'd want to turn down a monogramming opportunity.
This one has longer, thinner stripes than the first one. I also tried hand-tying the quilt with embroidery floss for the first time - you can see it a little bit in the last photo. It's a super easy way to quilt, if you're nervous about sewing on top of your work!
We threw a few board books into the mix for baby's library, too, including Spot's First Christmas, some Dr. Seuss and Let's Dance, Little Pookie, which I think is just about the best title I've ever heard.
Hope you all had a wonderful weekend!
Thursday, November 3, 2011
Stripped
I took a bunch of upholstery books out of the library to study up. They made me more and more anxious to do this project, and not in a good way. There are so many tools the authors say you need, so many "easy" projects you're supposed to tackle first.
Last night I decided to just dive in with tools I had at home and see how it went. First I pulled off the back piece by hand (it was just attached with upholstery tacks, so it came off pretty easily). There was piping tubing trim all the way around the chair, so that came off next. I could grip it with basic pliers to do the job.
Next I made a mistake and started attacking the staples on the seat. I should have done the front back of the chair instead since the seat fabric was applied last when it was upholstered. Anyways, I just sort of did them simultaneously, using pliers and a flat head screw drivers to get under the staples.
I won't say the process was easy, but it was rewarding. It took about an hour and half. I'm super pleased that the insides are in great shape -- smooth springs, nice lining, webbing is in tact. I was nervous about what I'd find under there! Luckily, these were the only scary things that came out of the chair:
- Straw wrapper
- Penny circa 1997
- Folded up frog sticker
- Safety pin
- Hole punch remains
I'm going to go to the fabric store this weekend and see what I find, then I'll pick out the paint. I'm going to leave the other chair in tact for now so I have a model to use when upholstering the first chair. Fingers crossed this makes it easier!
Labels:
arts and crafts,
decor,
fears,
hobbies,
new directions
Thursday, October 27, 2011
Big plans for ugly chairs
I brought two of these hideous chairs home earlier this week. They are sitting pretty ugly in my living room, just waiting to be shed that yellow/green/brown leather skin. I have big plans for these guys!
Since these chairs were free, I want to give myself license to play around a bit, and I'm going to try re-upholstering them myself! I've been watching this helpful series of video tutorials, and have taken a few how-to books out of the library. I'm a little nervous about ruining the chairs (and pretty upholstery fabric) but this is something I've wanted to try for a while, and this seems like a great learning opportunity.
Right now I'm trying to decide between pretty, busy patterns or something very plain. I'm going to steer clear of stripes and geometric stuff because those would be harder to match up correctly. I'll definitely keep you posted as this project progresses. If you have any brilliant tips, I'd love to hear!
Friday, October 14, 2011
Leaves or lace?
Tonight Peter's sisters and our soon-to-be brother-in-law are coming over for dinner and pumpkin carving! I'm going to be making this and this, if I can get my act together quickly this evening.
Martha Stewart has a fantastic pumpkin carving gallery (not that anyone's surprised by that!). These are a few of my favorites:
I'm deciding between the leaves and the lace pattern. I'll try to be a good blogger and take a few pictures to share next week :) Have you carved your pumpkin yet?
Wishing you a very happy weekend!
Labels:
arts and crafts,
autumn,
dinner party,
holidays,
parties
Friday, October 7, 2011
Guest posting on The Culinary Couple
Emily has been a wonderful blog friend to me for years (check out this cute interview with the Culinary Couple buried deep within the Fresh Basil archives!). I was thrilled when she asked me to put together a guest post to share while she and Nick spend time with their darling newborn, Sam. Isn't he just the cutest?!
I'm chatting about how to sew the easiest baby blanket ever - it has cute stripes! Here it is, if you'd like to take a peak.
Hope you all have a wonderful weekend!
Subscribe to:
Posts (Atom)